Disclaimer
All screenshots in the article were taken in the Dutch version of Nmbrs Accounting.
In this article, you will find the most important things to get off to a flying start with Nmbrs Accountingi:
- start-up phase
- log in into Nmbrs Accounting
- navigate within the domain
- navigate within the portal
- customize domain settings
- customize portal settings
- submit administration.
Start-up phase
Start-up phase accountant
All the steps to be completed by the accountant to start with a new portal is described in article Start with new portal.
Start-up phase entrepreneur
Before an entrepreneur can actually begin using Nmbrs Accounting, the entrepreneur and the accountant must enter a number of details during the start-up phase.
All steps to be completed by the entrepreneur together with the accountant during the start-up phase are described in article Start with new domain (entrepreneur).
Log in into Nmbrs Accounting
As soon as your login details are active, you can log in to your own online environment.
For a detailed cescription, see article How can I log in to Yuki?
Navigate within a domain
Navigating within a domain and the various functionalities/features that an entrepreneur as well as the accountant or back office (employees of the administration and/or accounting firm) can use within a domain are described in article How can I navigate within domain?
Navigate within accountant portal
Navigating within an accountant portal and the functionality that the accountant and the back office can use within their own portal is described in article Your Dashboard in Yuki accountant portal.
Customize domain settings
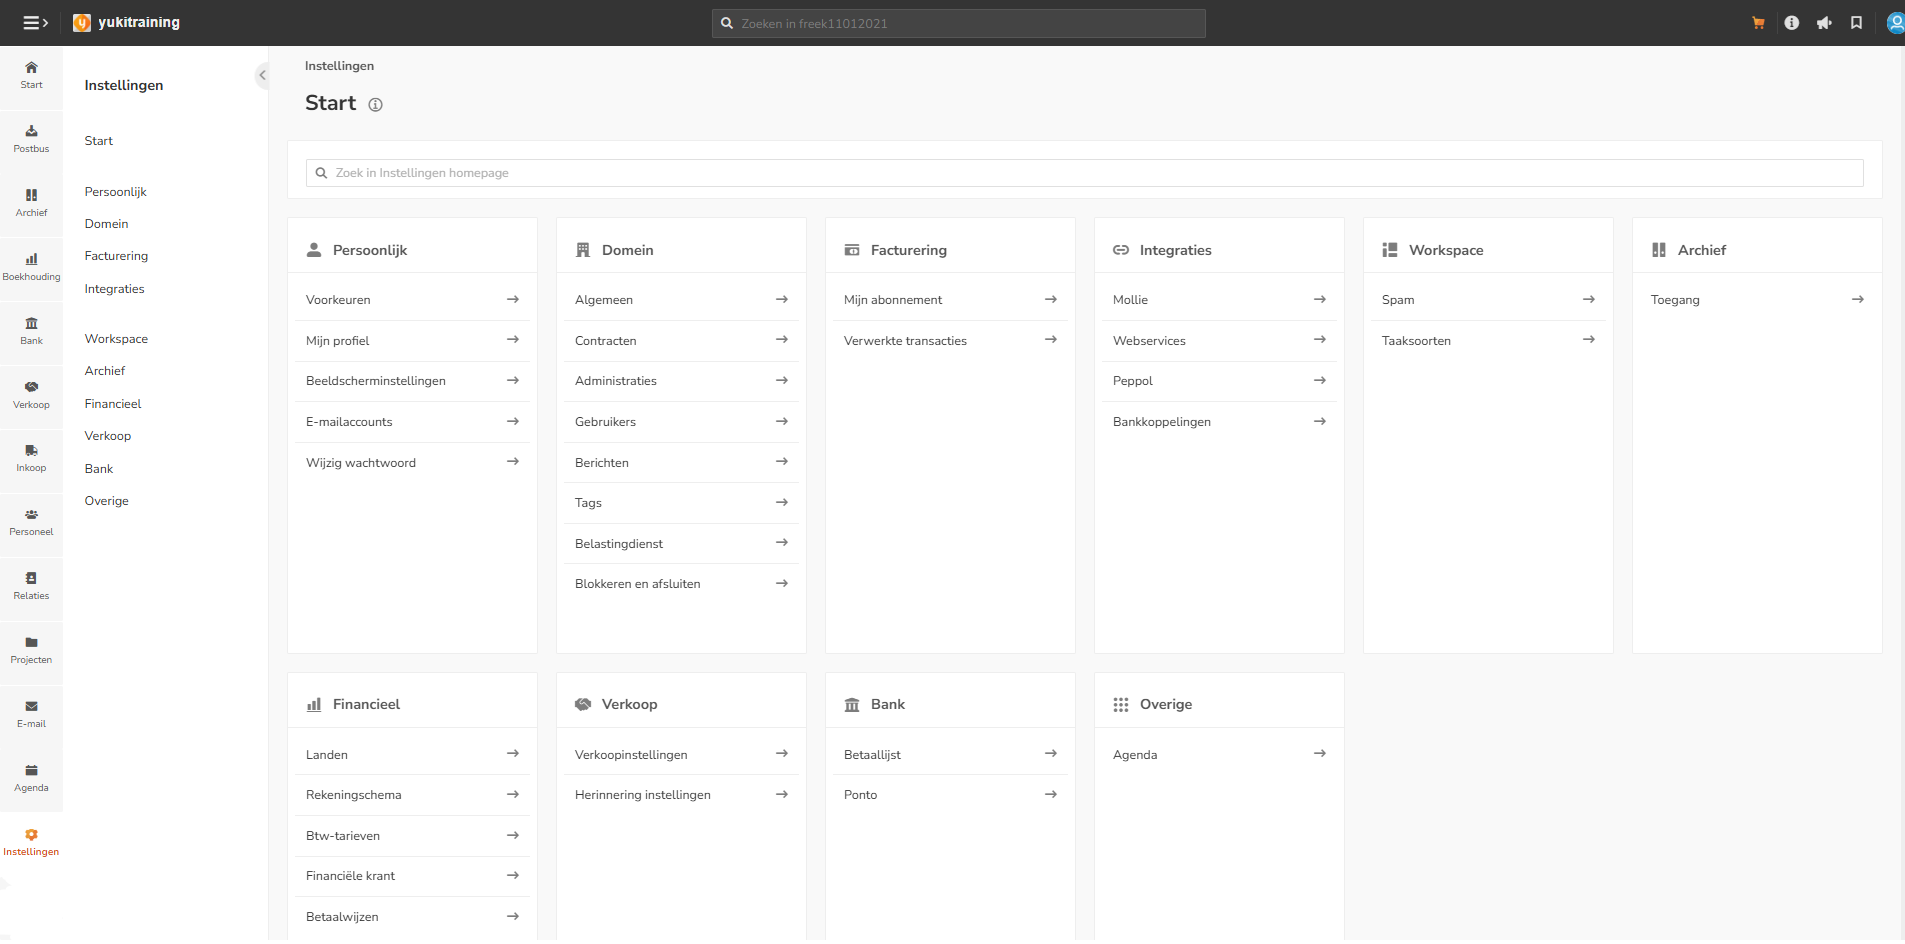
In a domain, personal preferences and settings that affect the operation of the software can be changed by both the entrepreneur and the accountant or back office:
Permissions
Exactly which settings and functions you see depends on the permissions (user role) you have within the domain as well as the extra features that have been activated for your domain.
For a detailed description, see article Settings.
Customize portal settings
At the portal level, the accountant or back office can define a number of settings that apply to all domains in a portal, such as sampling, satisfaction, user access, default values, and connections (Web services, Nmbrs Payroll integration, and Loket payroll integration).
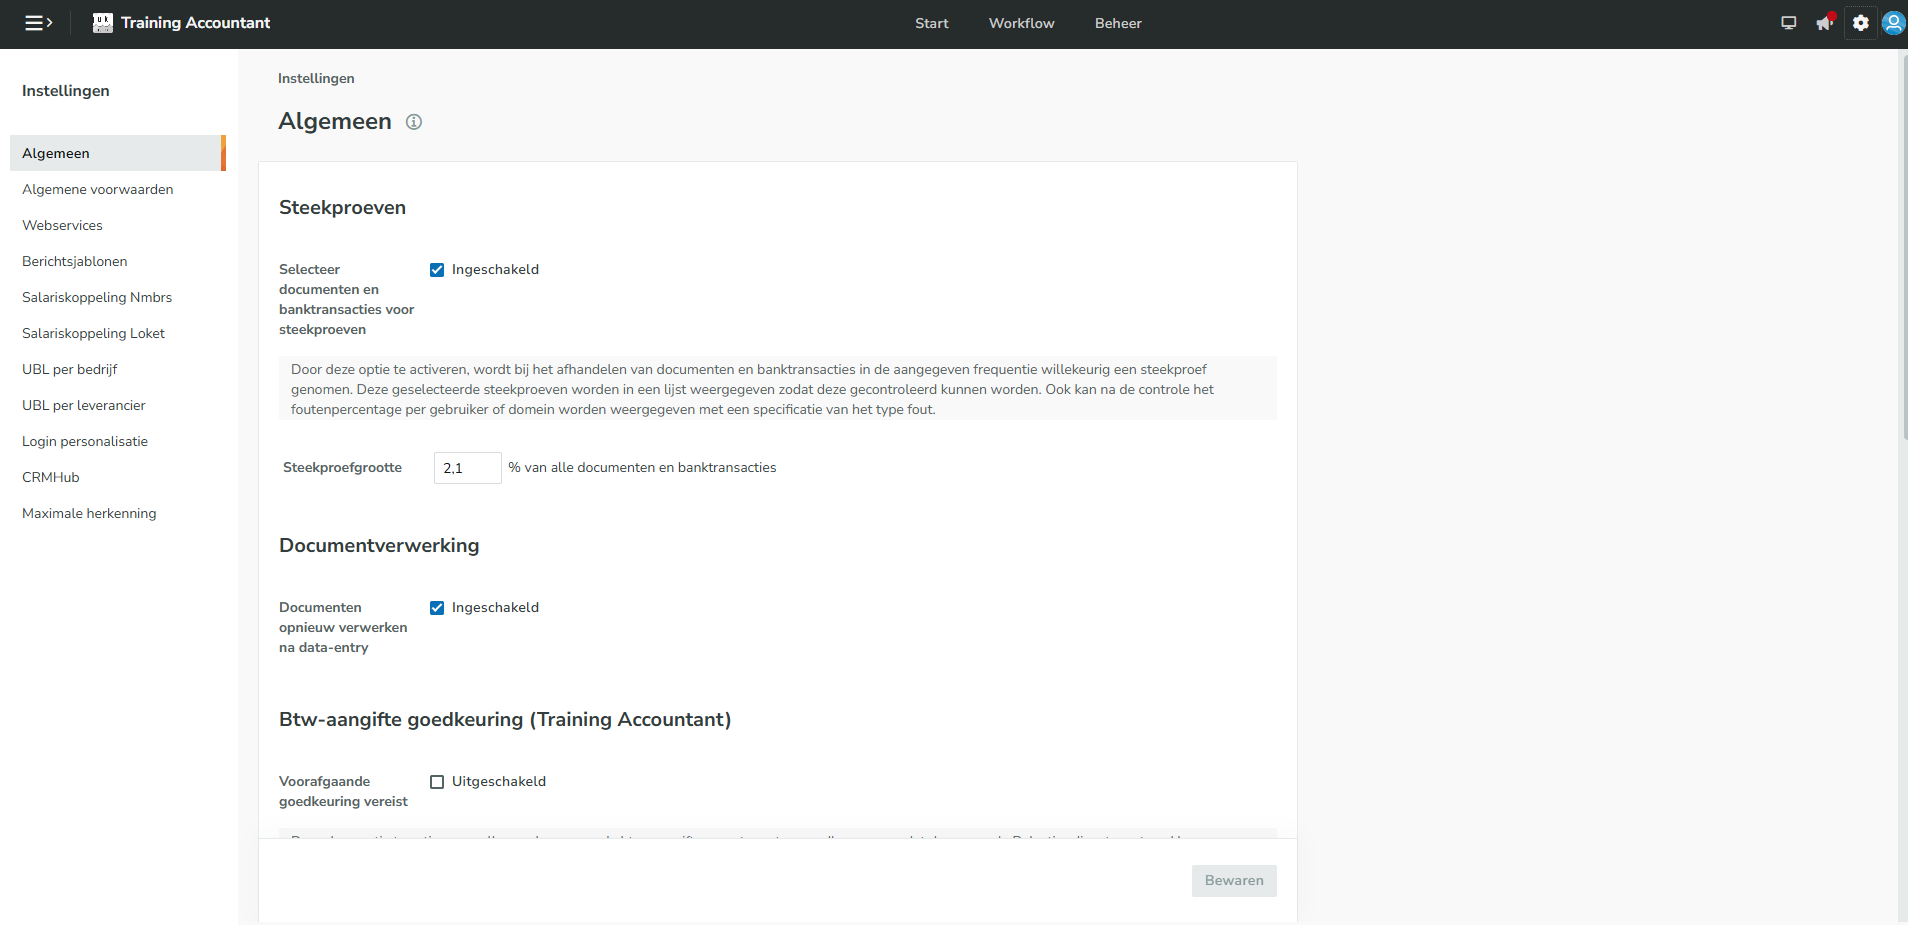
For a detailed description, see article Portal settings.
Submit administration
Up-to-date bookkeeping depends on the timely submission of documents (purchase invoices, sales invoices, receipts) and bank transactions. Tis can be done in five different ways:
- Upload: directly drag and drop files from the computer.
- Email: forward documents directly to the unique email address of a domain.
- Nmbrs Accounting app: quickly take a photo of a receipt or invoice with a smartphone (available for iOS and Android).
- Dropbox: automatically synchronize documents via your own Dropbox account.
- Google Drive: automatically synchronize documents via your own Google Drive account.
How does it work?
Open the PO Box and choose the submission method that is most convenient at that moment.
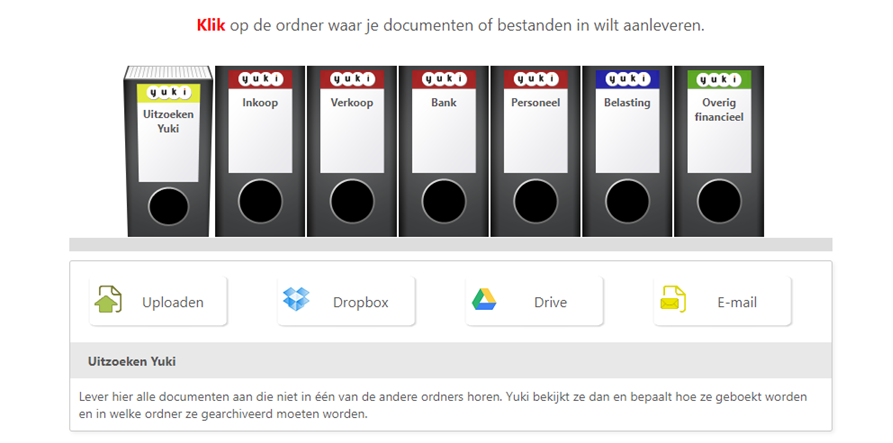
For a detailed description per submission method, see article Scan and upload, synchronize and/or email documents.
Was this article helpful?
That’s Great!
Thank you for your feedback
Sorry! We couldn't be helpful
Thank you for your feedback
Feedback sent
We appreciate your effort and will try to fix the article