Disclaimer
All screenshots in the article were taken in the Dutch version of Yuki.
Start-up phase
Before you, the entrepreneur, can actually start using Yuki, the accountant and yourself need to enter a number of data during the start-up phase.
All steps to be completed with the accountant during the start-up phase are described in article Start with new domain (entrepreneur).
Log in to Yuki and navigate within domain
Logging in to and then navigating in Yuki and the various functionalities/features that you can use within a domain are described in article How can I log in to my domain in Yuki? and How can I navigate in my domain in Yuki?
Submit administration
To really start with an administration, it is important that all files (documents and bank transactions) are submitted in Yuki. This can be done in five different ways:
- Upload
- Via Dropbox account
- Via your own Google Drive account
- With the Yuki Assistant app (available for Apple and Android).
This requires opening the PO Box and choosing one of the following options:

A detailed description of how to scan, upload, synchronise and mail documents can be found in article Scan, upload, synchronise and/or email.
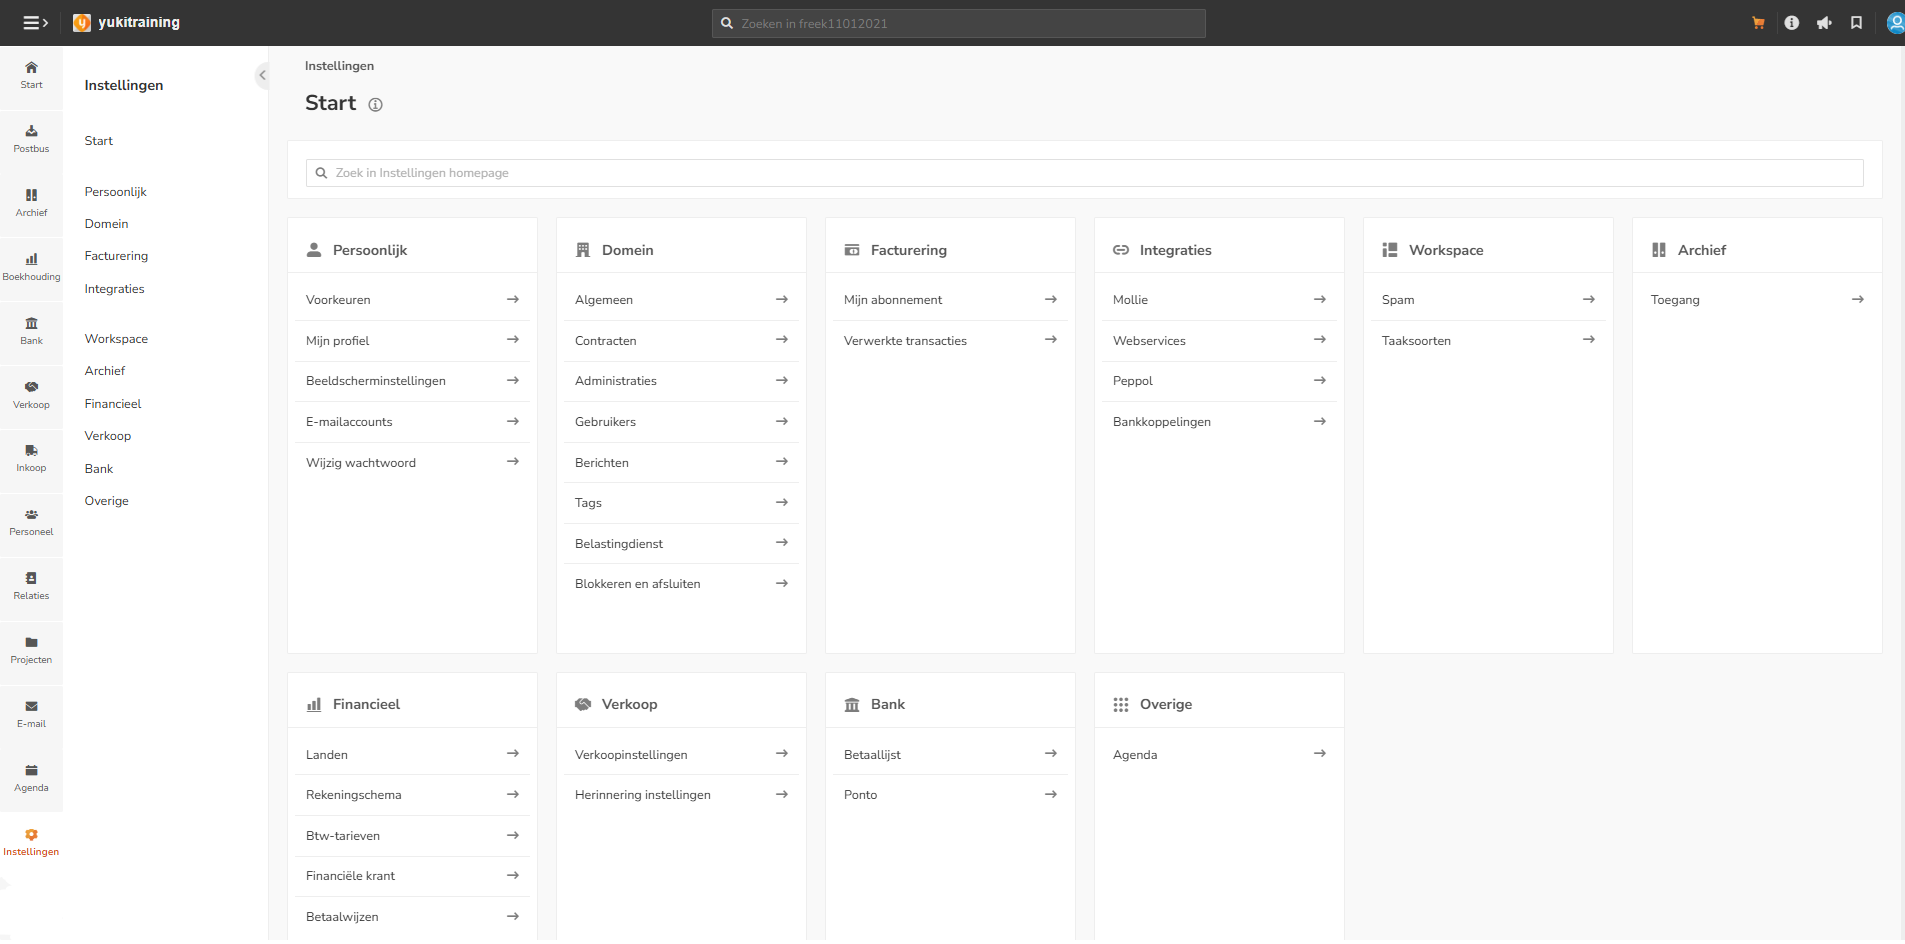
Change settings
In your own Yuki domain, your personal preferences and the settings that affect the operation of Yuki can be changed by both yourself and the accountant:

ATTENTION!
The settings shown here depend on the rights of a user in a domain and the extra features activated in a domain.
For a detailed description of how to customise your domain settings, see article Settings.
Was this article helpful?
That’s Great!
Thank you for your feedback
Sorry! We couldn't be helpful
Thank you for your feedback
Feedback sent
We appreciate your effort and will try to fix the article