Disclaimer
All screenshots in the article were taken in the Dutch version of Yuki.
When you have created a Mollie bank account in your administration in Yuki, you can link it to your already existing account with Mollie.
In this way it will be possible for your customers to pay via Mollie by clicking a payment link (payment button) in all your sales invoices.
After linking your administration to your Mollie account, you can choose whether or not to automatically import Mollie’s bank statements and invoices into Yuki.
You can disconnect your Mollie account from your Yuki administration at any time.
Mollie is only available when a user with the ‘Management’ role has selected the bundle Small, Medium, Large or Unlimited through the Yuki Store in the domain.
Multiple Mollie accounts
A Mollie bank account in Yuki can only be linked to one Mollie account.
If you have multiple Mollie accounts, you can link a separate Mollie bank account to each account.
Account settings in Mollie
After linking the accounts, you need to perform further configurations in Mollie. Think of:
- Select payment methods: Go to Settings > Website profiles > Payment methods in Mollie. Choose which payment methods are available to your customers.
- Set payout frequency: Manage this via Settings > Payouts. How often does Mollie pay out your customers' payments to you?
- Link website profiles to your account: You can link an unlimited number of profiles (websites) to your account. However, these must all belong to the same company and therefore have the same Chamber of Commerce number.
This is the case, for example, if your company uses multiple online webshops.
In the Profile ID field in the Mollie dashboard in Yuki, you then select the correct website profile. The current status is displayed next to each profile: ‘live’ or ‘test’.
ATTENTION!
All transactions from all profiles (i.e., online stores) end up in the same Mollie bank statement (settlement) to be imported.
Follow these steps to set up and use the integration with Mollie:
|
Access to Mollie
All settings for Mollie are centralized within your domain and divided into logical categories.
To access these settings:
- click on the Settings icon in the navigation bar
- then, in the now-opened screen, in the Integrations section click on Mollie.
Mollie dashboard
Link administration
Follow these steps to link your administration in Yuki to your Mollie account.
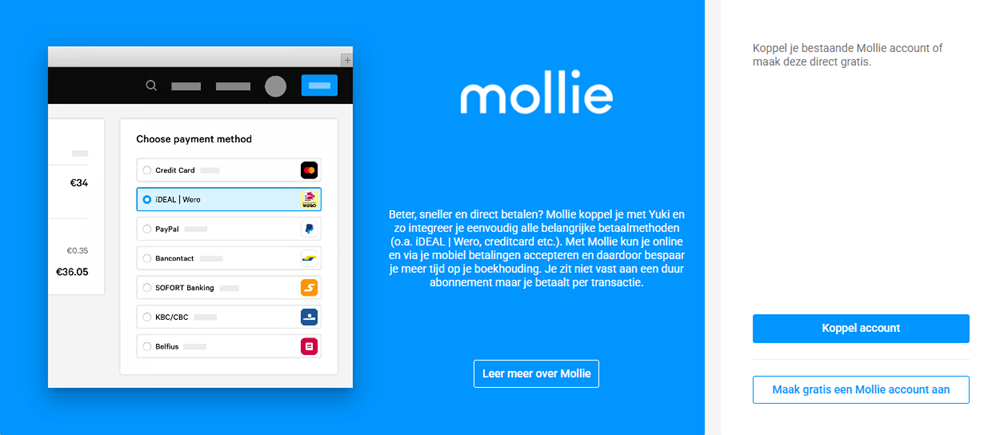
Step 1. Click on the Link account button.
TIP!
You can also create a new Mollie account for free by clicking on the Create a Mollie account for free button.
The following screen is opened:

Step 2. Here you have to enter your username (Username) and password (Password) of your Mollie and then click on the 'Log in' button.
The following screen is opened:

Step 3. Click on the Toegang geven button.
Now a Mollie dashboard will be opened which shows the status and all relevant information of your linked Mollie account:

Step 4. Select the Mollie bank account in your administration that should be linked to your Mollie account under Linked Mollie bank account. From that moment on you can synchronize this bank account with Mollie and then import Mollie bank statements and invoices.
Step 5. In your Mollie bank account details in Yuki, under Payment provider account, enter the email address (username) you use to log in to your account with Mollie.
Open the Bank functionality and click on the pencil in front of your Mollie bank account.

The following screen is opened:

ATTENTION!
In the new version of the 'Bank Accounts' overview you have to open the Bank functionality and then click on the name of the Mollie bank account. In the now-opened screen, click on the Edit button.

The following screen is opened:

After linking your Mollie bank account it will be shown in the Mollie dashboard:

Import option in Yuki: Automatic or manual
Automatic import
To automatically import bank statements (settlements) from Mollie into your administration, check the box labeled Automatically retrieve my bank statements from today.
If you also want new invoices from Mollie to be automatically imported into your administration, check the box labeled Automatically retrieve my new invoices from Mollie from today.
Manual import
All bank transactions and invoices from Mollie for today can still be imported manually at any time, see articles Import Mollie bank statements manually en Import Mollie invoices manually.
Disconnect account
At any moment you can unlink your administration by clicking on the Disconnect account button.
Was this article helpful?
That’s Great!
Thank you for your feedback
Sorry! We couldn't be helpful
Thank you for your feedback
Feedback sent
We appreciate your effort and will try to fix the article