Disclaimer
All screenshots in the article were taken in the Dutch version of Yuki.
Below is a brief explanation of the route from files (documents) on the local computer to processing in Yuki by the Back office:
- Local PC: Your documents are stored as PDFs or images in a folder on your computer (the original files always remain safely stored here).
- Upload: You copy (upload) the files via the PO Box to your administration in Yuki.
- Bundle bin (intermediate station): Certain documents first end up in the Bundle bin. Here, you can manually 'staple' or bundle loose pages that belong together (such as a three-page invoice that was scanned separately).
- Workflow: Only after the documents in the Bundle bin have been correctly bundles do they flow through to the active workflow.
- Back office: The Back office only sees the complete documents in the workflow at this stage and can then definitively process them in Yuki.
Files in Bundle bin
Files in the Bundle bin are not yet processed by Yuki. If a document remains stuck in the Bundle bin, the Back office is missing that invoice from the administration! Therefore, check this folder regularly.
Who can upload files?
The entrepreneur can upload files from the PO Box.
Upload files from PO Box
To upload files from the Po Box:
- click on the PO Box icon in the navigation bar
- in the now-opened screen, click on Submit.
- select the folder wherein you want to upload the documents and/or files
- click on the Upload button

TIP!
Hover your mouse over a specific folder to immediately show apop-up text explaining which documents and files specifically belong in that folder.
Place directly in folder versus 'To be handled hy Yuki folder
Directly in folder
For example, if you upload purchase invoices directly to the Purchase folder, the documents will be immediately categorized as purchase invoices.
In 'To be handled by Yuki' folder
However, preferably select the To be handled by Yuki folder so that the Back office can determine how the documents should be processed and organized. - on the next screen, select the correct administration in case there are multiple administrations in the domain.

- in the now-opened screen, click on the Select files button.

- in the now-opened screen, select all files on your hard disk that have to be uploaded and then click on the Open button.
- click on the Upload files button whereby the files are uploaded one by one.
If all files are uploaded an overview of all files will be shown.
The uploaded documents can also be shown on this screen as a list showing the details of each document: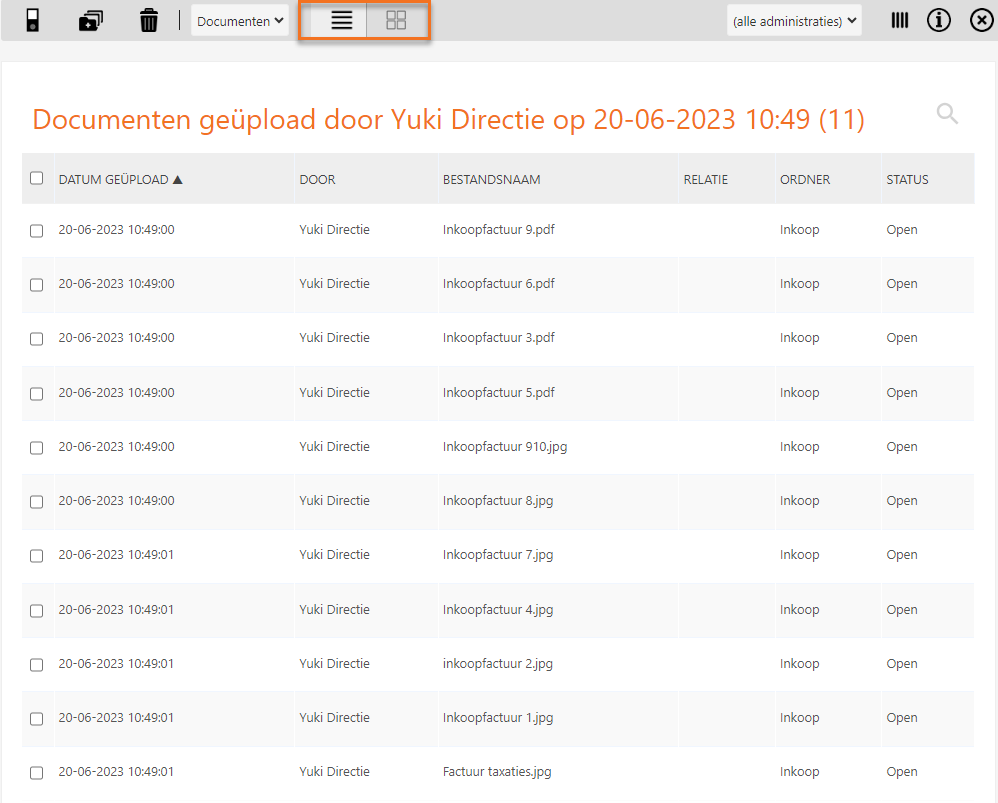
- check if there are no missing files in the upload.
Was this article helpful?
That’s Great!
Thank you for your feedback
Sorry! We couldn't be helpful
Thank you for your feedback
Feedback sent
We appreciate your effort and will try to fix the article