Disclaimer
All screenshots in the article were taken in the Dutch version of Yuki.
In Yuki, it is possible to manually create a sales invoice and then send it to your customer by mail, email or via Peppol. Then, if necessary, the invoice can be handled correctly.
To create a new sales invoice, the following steps must be followed:
|
Access to new sales invoice
You can create a sales invoice from three places in Yuki:
- click on the Sales icon in the navigation bar
- click on Dashboard if necessary
- select the Invoice menu option from the dropdown menu of the Create... button.
OR - click on the Sales icon in the navigation bar
- click on Invoices
- then in the now-opened screen, click on the New invoice button.
OR - Click on the Contacts icon in the navigation bar
- open the relevant contact card in the now-opened screen
- then in the now-opened screen, click on the Sales invoice button.
Enter invoice details
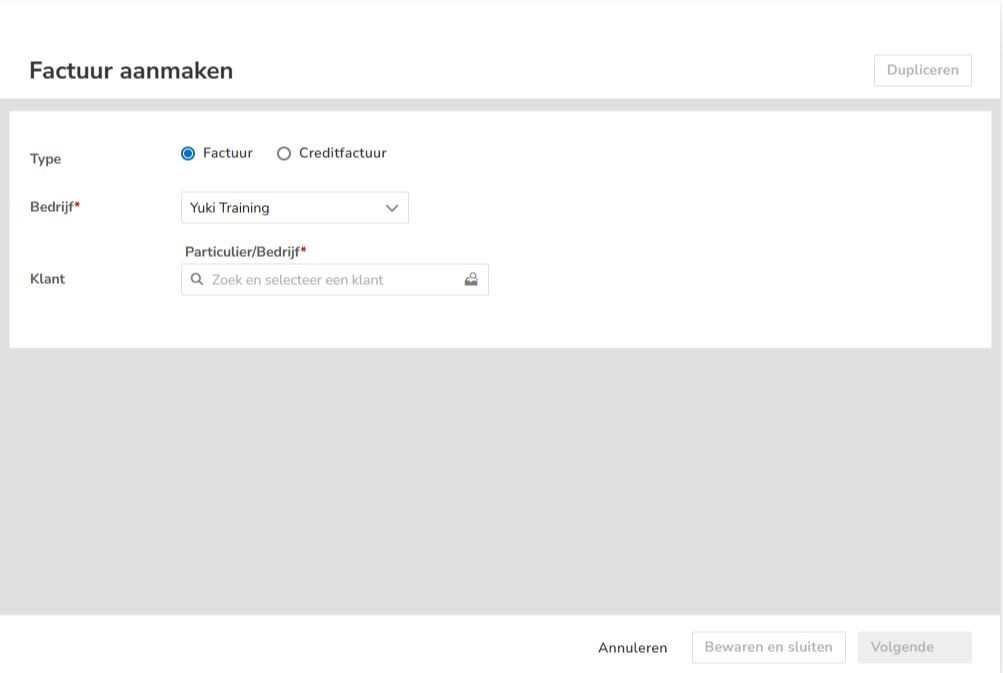
The invoice details can be entered in the fields described below.
Company (required)
Select the company (administration) in which the sales invoice should be processed in Yuki.
Customer (required)
Select the relationship (customer) for whom the invoice is intended, or click the + New Relationship button to create a new relationship (customer).
For a detailed description, see article Sales Standard - Create customer (business/private person) via sales invoice.
Once you have selected or created a contact, the fields 'Contact Person', 'Subject', 'Layout', and 'Expires in' are automatically added to the draft invoice.
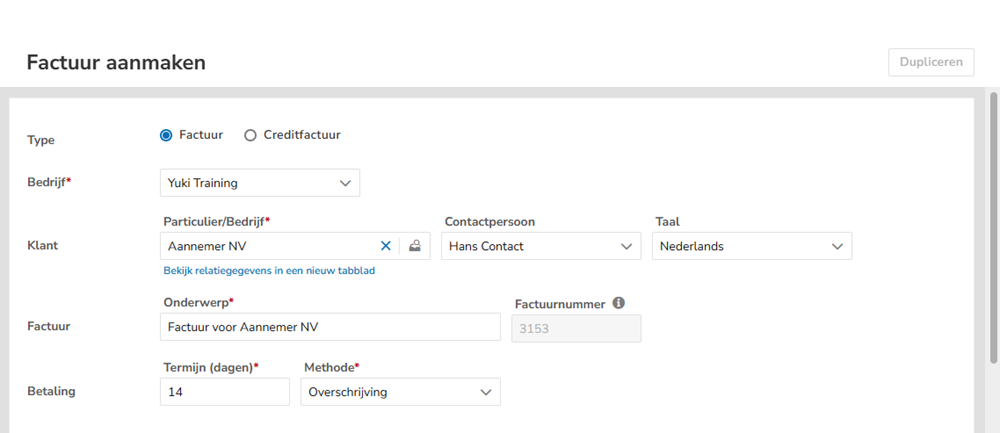
Contact person
If a customer-specific contact person is present on the customer's contact card, it will be automatically filled in.
If necessary, select a different contact as the customer's contact person or click on the + New contact button to create a new contact (contact person).
It is only possible to select contacts who are registered with the customer. This prevents the invoice from being accidentally sent to the wrong person.
Language
The invoice layout is taken from the 'Invoice layout' settings (in the 'Sales settings'). However, the invoice layout can be manually changed here.
For a detailed description, see the article Sales Standard - Invoice layout (Sales settings).
Subject (required)
After selecting the customer, Yuki automatically fills in the subject "Invoice for [customer]". This can be changed manually.
Even after sending the invoice, the subject of the invoice can still be adjusted.
Term (days) (required)
The payment term in days is taken from the 'Invoice' settings (in the 'Sales settings'). However, the number of days can be changed manually here. When sending the invoice, the correct due date is automatically calculated based on the invoice date.
Method (required)
The default payment method of an invoice is 'Electronic transfer'. However, the payment method here can be manually changed to:
- Direct debit
The following direct debit details should be added to the additional data:- Bank account
- Mandate reference
- BIC
- Structured payment ID
- Description.
- Cash
A petty cash must be selected. - Debit card
- Credit card
- Will be refunded
- The following direct debit details should be added to the additional data:
- Bank account
- Mandate reference
- BIC
- Structured payment ID
- Description.
- Received cash (cash from account)
A petty cash must be selected. - To be offset
- From private (paid by employee) (cash, debit or credit card from private bank account)
An employee must be selected.
- In private (received by employee) (cash, debit or credit card from private bank account)
An employee must be selected.
- iDEAL
- Online (online payment provider like PayPal, Pay.nl or MultiSafepay)
- Mollie.
ATTENTION!
Sales invoices recorded with payment type 'Debit card', 'Credit card', 'iDEAL' or 'Online' do not end up in the outstanding debtors but are posted on '23300 Suspense account debit card payments', '23310 Suspense account credit card payments', '23320 Suspense account iDEAL payments' or '23330 Suspense account online payments' respectively.
Was this article helpful?
That’s Great!
Thank you for your feedback
Sorry! We couldn't be helpful
Thank you for your feedback
Feedback sent
We appreciate your effort and will try to fix the article