Disclaimer
All screenshots in the article were taken in the Dutch version of Nmbrs Accounting.
It is possible to import contacts into the Address Book of your administration from Outlook, Outlook Express, Nmbrs Accounting, or another application. It is recommended to regularly exchange contacts between your domain and Outlook (Express), smartphone, mobile phone, PDA, or Organizer so that the contacts in both environments always match. With Nmbrs Accounting, this is only possible via the import and export function; there is no synchronization function available.
Only a user with the 'Management', 'Financial administration', or 'External accountant' role can import contacts.
Click on the Contacts icon in the navigation bar and then click on Import & Export.
The following screen is opened:
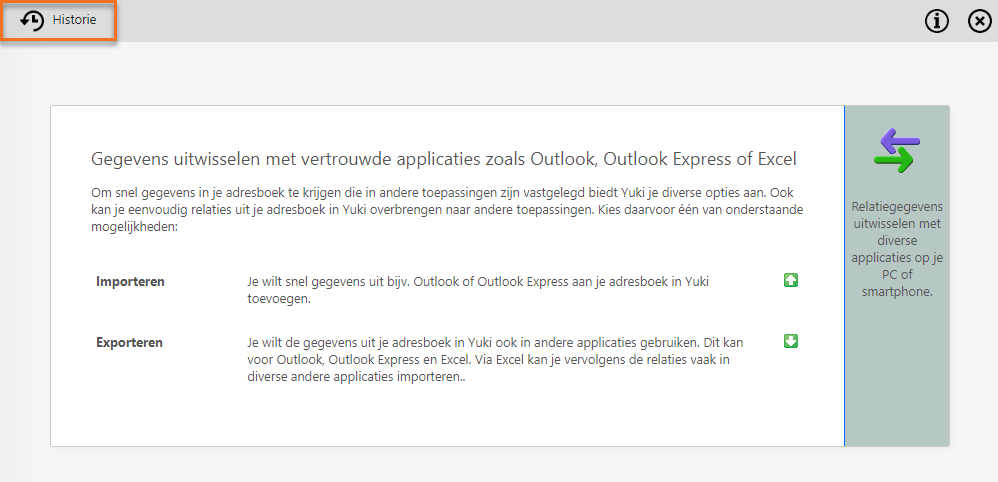
To view all imported address files, click on the History button. You will now see all address files that have been imported in the past.
Import contacts
To start importing contacts, click on Import to begin the process.
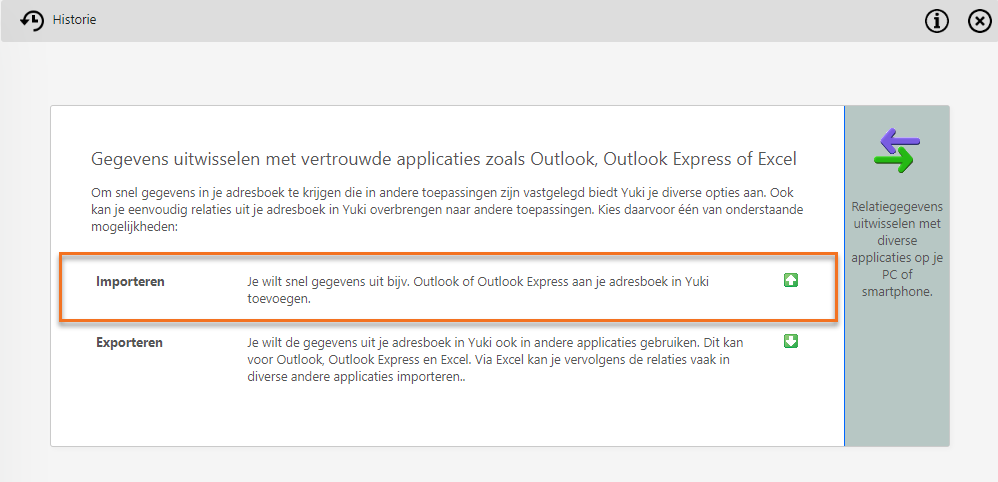
The process consists of five steps:
- select the application from which you want to import contacts
- follow the instructions to export contacts from the selected application
- indicate whether an existing contact in Nmbrs Accounting should be supplemented or completely overwritten
- select the export file
- link the fields to be imported to fields in Nmbrs Accounting.
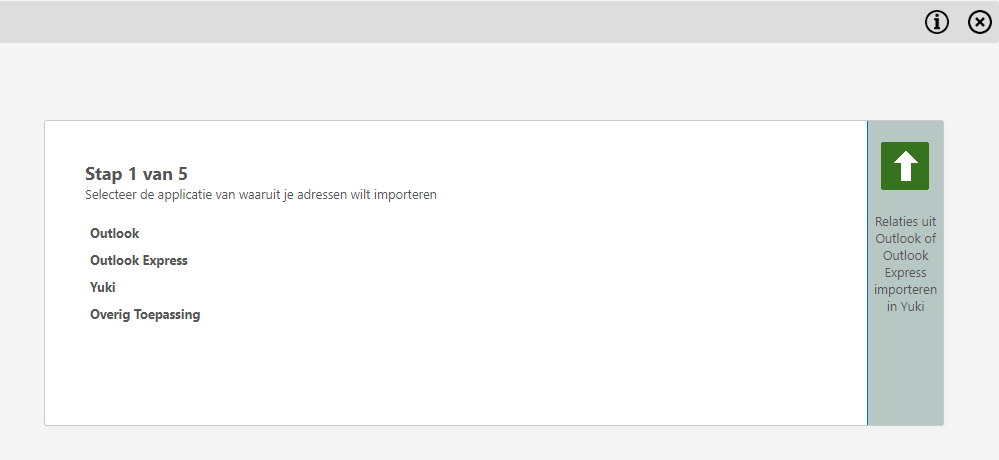
Step 1
In the first step, you select the application from which you want to import contacts (format of the import file):
- Outlook
- Outlook Express
- Nmbrs Accounting (with this format you can export the data from a domain, then change it in Excel, and subsequently import it back into the same domain)
- Other application (CSV file).
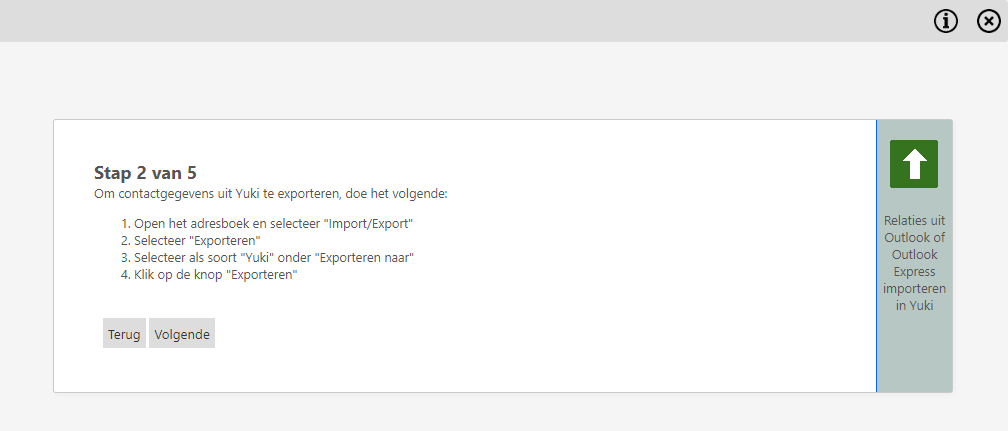
Step 2
This step consists of instructions to properly export the contacts or contact details from the application selected in step 1. In this example, you want to import contacts from Nmbrs Accounting.
Step 3
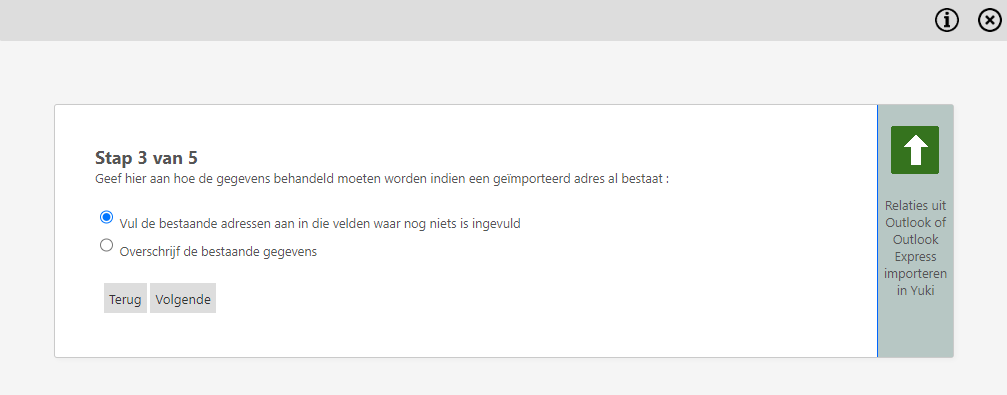
Here you must indicate whether you want to update (add to) the existing contacts or add the entire import file (overwrite existing data), regardless of which contacts are already present.
Step 4
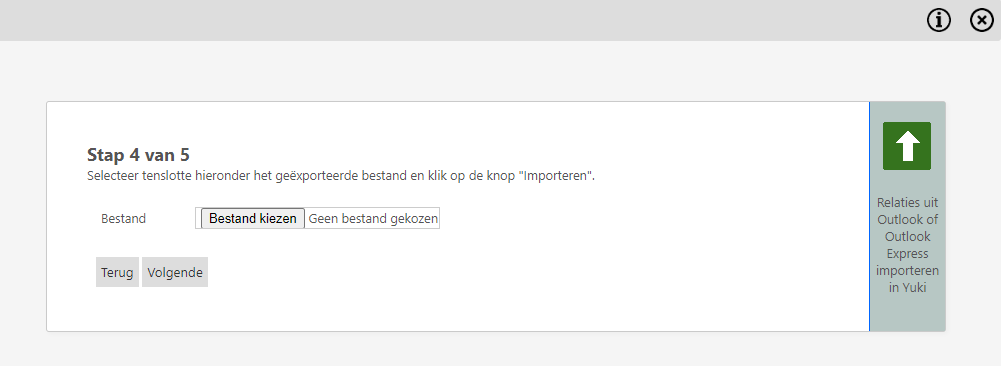
In this step, click on the Choose file button to select the export file you want to import into Nmbrs Accounting.
Step 5
In the final step, you can map the fields to be imported to fields in Nmbrs Accounting. You can specify yourself which information you want to store in which field of the contact card, but Nmbrs Accounting also makes a suggestion. Fields that Nmbrs Accounting cannot place are indicated with 'Do not import'. You can then link these fields yourself.
If you import the 'First name' and/or 'initials', Nmbrs Accounting creates a contact card of the 'Person' type; otherwise, it always creates a contact card of the 'Company' type.
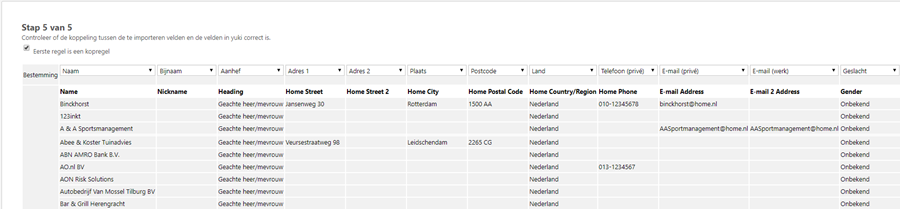
When the import file contains both company and contact person data, the import must be performed in two steps.
For a detailed description, see article Contacts import file: assign Company field to Contact person field in Nmbrs Accounting.
Check whether all fields to be imported are linked to the correct fields in Nmbrs Accountingi. If so, click on the Import button.
TIP!
There must be no parentheses () in the header row of the file to be imported.
Every line must end with a CRLF (Carriage Return LineFeed). If these are missing, Nmbrs Accounting will NOT be able to distinguish between the header row and the lines containing address details.
After the contacts (addresses) have been imported, a result will be shown.
For a detailed description, see article Contacts import result.
Was this article helpful?
That’s Great!
Thank you for your feedback
Sorry! We couldn't be helpful
Thank you for your feedback
Feedback sent
We appreciate your effort and will try to fix the article