Disclaimer
All screenshots in the article were taken in the Dutch version of Yuki.
In Yuki, it is possible to manually create a sales invoice and then send it to your customer by mail, email or via Peppol. Then, if necessary, the invoice can be handled correctly.
To create a new sales invoice, the following steps must be followed:
|
Access to new sales invoice
You can create a sales invoice from three places in Yuki:
- click on the Sales icon in the navigation bar
- if required, click on Dashboard
- then, if required. select the Invoice menu option from the dropdown menu of the Create... button
OR - click on the Sales icon in the navigation bar
- click on Invoices
- then, in the now-opened screen, click on the New Invoice button.
OR - click on the Contacts icon in the navigation bar
- in the now-opened screen, open the relevant contact card
- then, in the now-opened screen, click on the Sales Invoice button.
Add invoice lines (sales items)
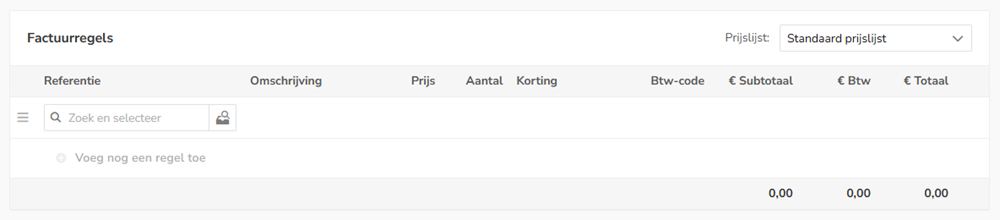
On the invoice, one or more items to be sold should be added.
Go through the following steps:
- select the correct price list for the items on the invoice.
If a (customer-specific) price list has been entered on the customer's contact card, it is automatically filled in here.
Any invoice created from a foreign currency price list will show the relevant foreign currency symbol. - under the Invoice lines heading, click on the magnifying glass behind the Reference field
- select the item you want to add on the invoice. Only items from the price list selected above will be shown.
ATTENTION!
Click on the + New sales item option to add a new sales item.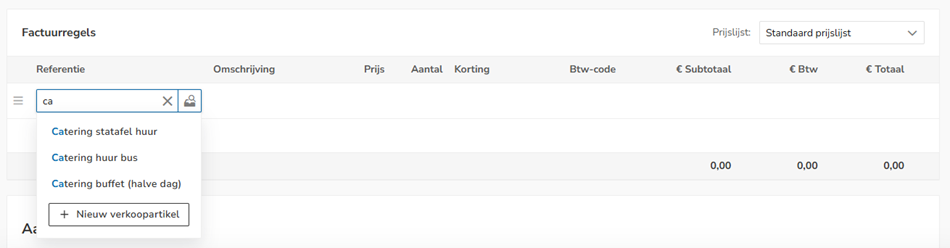
For a detailed description, see article Create sales item.
The details of the item such as the description are automatically filled in on the invoice line. - change the item's quantity, price, discount (amount or percentage) and/or VAT code if required.
The amount excluding VAT, the VAT amount and the amount (including VAT) are now automatically filled in.
- to add a second item, click on the Add another line button.
Actions on invoice line
During or after adding items, you can perform the following actions on an invoice line:
- Edit: click on a field in the invoice line and change the data.
- Move: click the three dashes (mouse pointer becomes a hand) in front of an invoice line to move it down or up.
- Text line: click on the button with the three dots behind the invoice line and then select the Add comment option to show a text line on the created invoice below the relevant invoice line.
- Reset default values: click on the button with the three dots behind the invoice line and then select the Reset values option to reset the default values of the sales item in the invoice line.
- Delete: click on the button with the three dots behind the invoice line and then select the Remove option to remove the line from the invoice.
Was this article helpful?
That’s Great!
Thank you for your feedback
Sorry! We couldn't be helpful
Thank you for your feedback
Feedback sent
We appreciate your effort and will try to fix the article