Disclaimer
All screenshots in the article were taken in the Dutch version of Yuki.
After you have selected the contacts that you want to print and have configured all the settings you can print the printer labels. Check if you have deleted the header and footer in Google Chrome ánd if a test page is printed correctly before you actually start with printing the printer labels.
TIP!
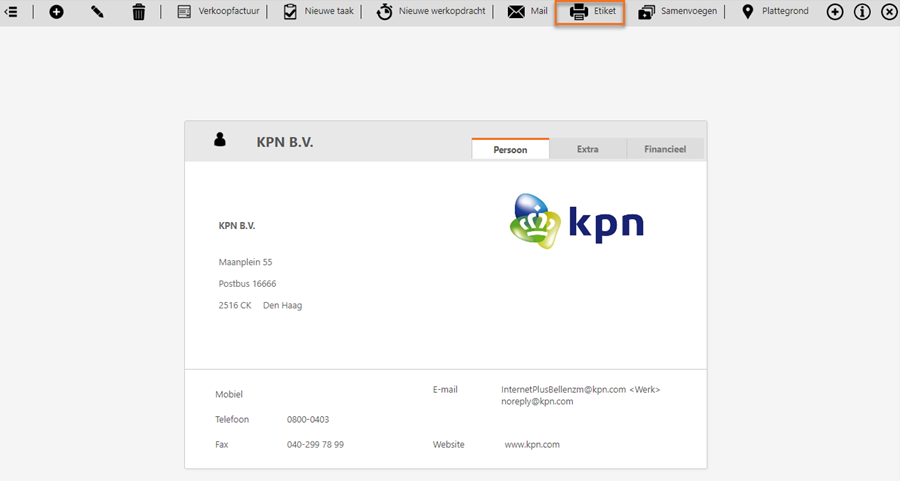
You can click on the Printer label button on the contact card of a person or company in order to print a printer label of that contact.
Move your mouse above the Contacts icon in the navigation bar and then click on Printer labels.
The following screen is opened:
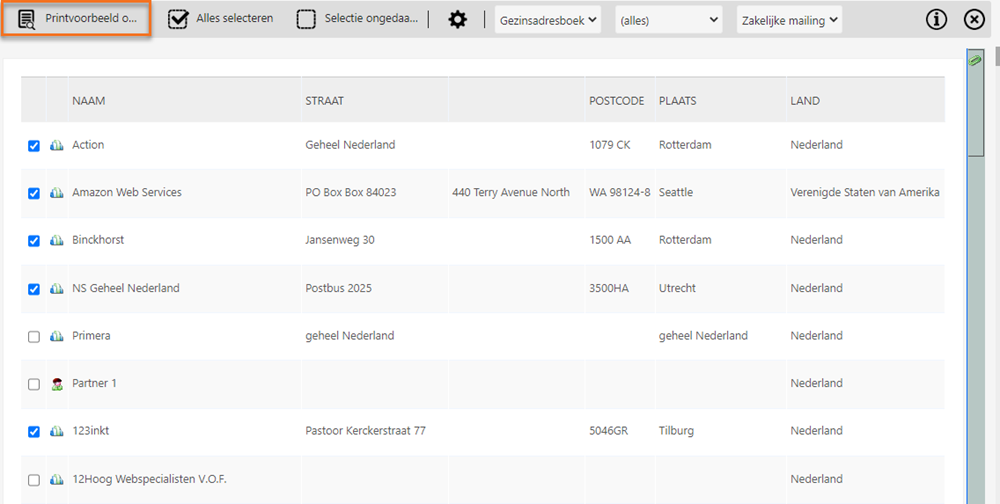
Click on the Print preview button. The following screen is opened:
TIP!
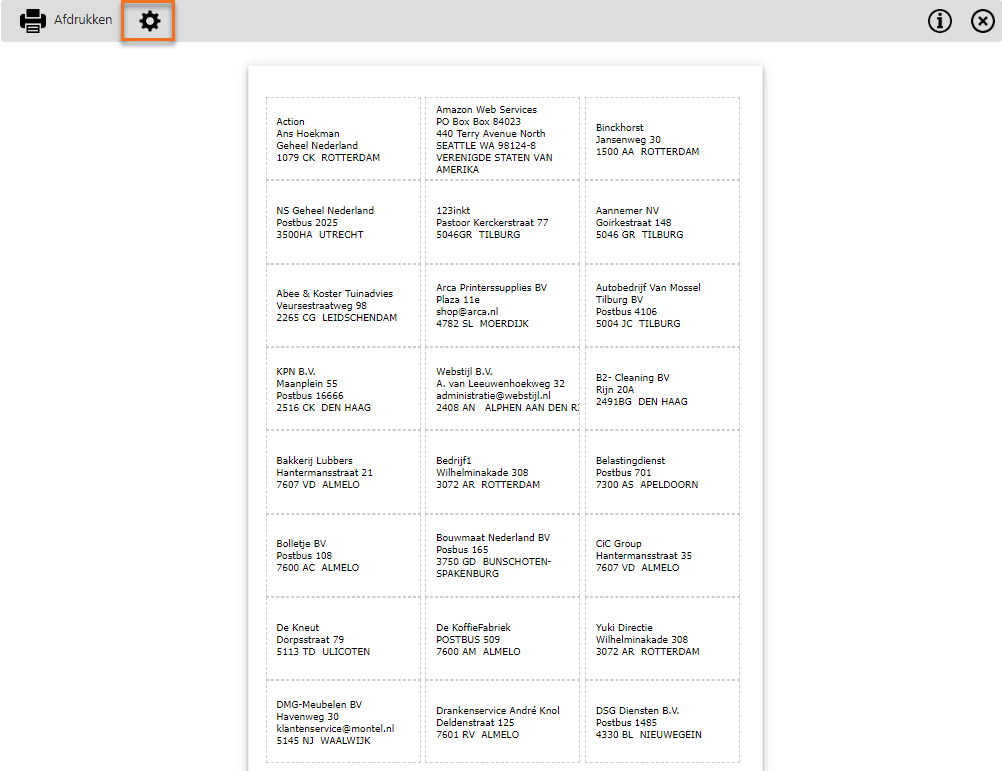
Click on the Edit the page settings for printing of labels button when you want to change the printer labels settings.
Delete header and footer
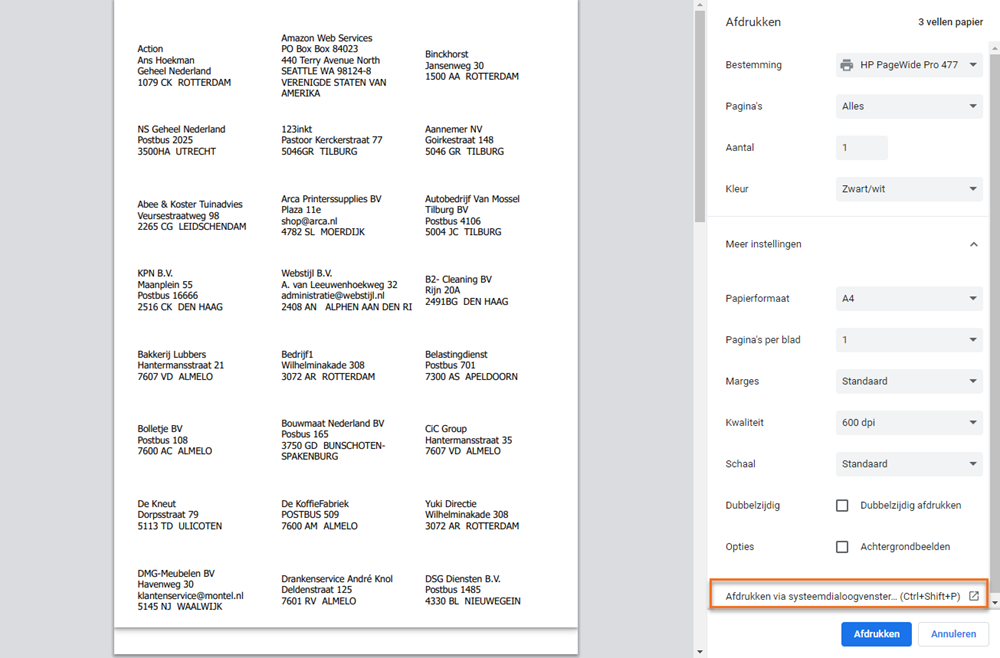
Before you print the printer labels you have to delete the Google Chrome header and footer so the contacts are printed correctly on the printer labels. Click on the Print button and then click on Meer instellingen.
In the now-opened menu behind Opties, remove the checkmark in front of Kop- en voettekst.
Print test page
Before you actually start with printing the printer labels you first have to print a test page to know for sure that you have configured the printer labels settings correctly.
In the now-opened screen (Print preview on Screen), click on the Afdrukken button and then click on Meer instellingen.
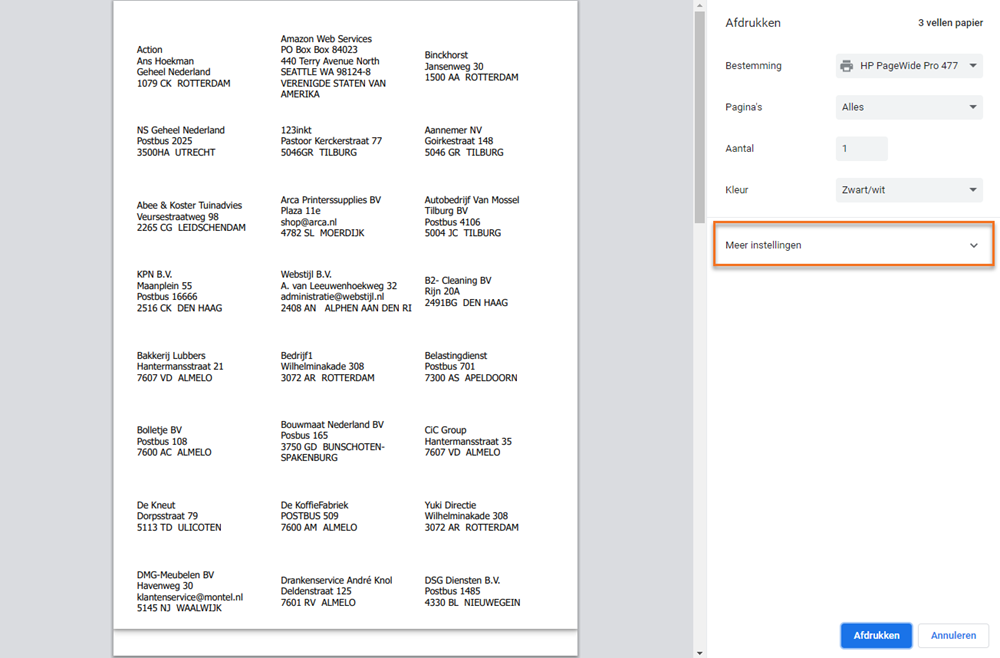
Then click on Afdrukken via systeemdialoogvenster.
In the now-opened window, indicate that you want to print 1 page.
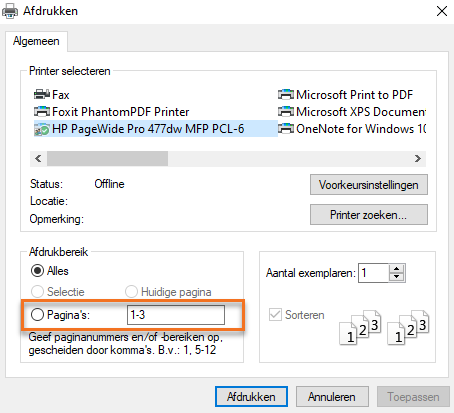
Click on the Afdrukken button to print a test page.
Problems with printed test page
Below a brief description is given of the possible problems with a test page that is not printed correctly and the solutions.
With a A4 size sheet of printer labels without top margin and bottom margin
Contacts are printed too high or low on the sheet of printer labels:
- Click on the Print button and select the option 'Geen' behind 'Marges' in the now-opened menu. Then click on annuleren to return to the Print preview on the screen.
- Click on the Edit the page settings for printing of printer labels button and change the number of millimetres in the 'Top margin (mm)' field into '0'.
- Reduce the number of rows set on the sheet of printer labels with '1' in the 'Rows' field.
The last row on the sheet of printer labels will now remain empty when printing the printer labels. Turn the page in the printer when the sheet of printer labels is full so you can still use the empty row on the sheet of printer labels to print printer labels.
With a A4 size sheet of printer labels with a top marign and bottom margin
Contacts are printed too high or low on the sheet of printer labels:
- Click on the Edit the page settings for printing of printer labels button and change the number of millimetres in the 'Top margin (mm)' field.
Contacts are printed too much to the left or the right on the sheet of printer labels:
- Click on the Edit the page settings for printing of printer labels button and change the number of millimetres in the 'Indent left (mm)' field.
Was this article helpful?
That’s Great!
Thank you for your feedback
Sorry! We couldn't be helpful
Thank you for your feedback
Feedback sent
We appreciate your effort and will try to fix the article